I came across the concept of “quilling” a few weeks back and instantly began thinking how could I translate this digitally to generate a unique architectural illustration for marketing or portfolio purposes. The style had a great look to it and I knew that Sketchup had some plugins that could make the workflow really simple. All you need is Sketchup Pro so that you can export and import AutoCAD files, and the “TIG” plugin called “Extrude edges by Vector”.
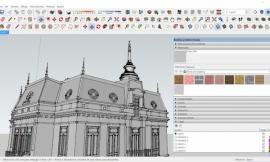
1. The first step is to export a view of the sketchup model as 2D AutoCAD line work. As I mentioned above, you need Sketchup Pro to be able to export AutoCAD files. In Sketchup, choose “File>Export>2d Graphic”. In the export dialogue box, set the export type to “AutoCAD DWG” and then export.
2. Next, start a new Sketchup model and import the AutoCAD file that was just exported in the previous step. Choose “File>Import”. In the Import dialogue box, browse to the location of the AutoCAD file making sure that the file type is set to “AutoCAD Files”. Then import the file.
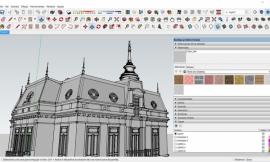
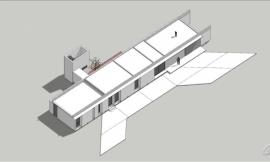
3. 当几何图形被导入后,下一步是沿垂直方向推拉。SketchUp不能推拉线条,所以我们需要插件来完成这个操作。能实现这个的插件有很多,但是“Tig Extrude Edges by Vector”插件确实很好用。这个插件可以选择多段没有连接的线条,并在任意方向推拉它们。
3. Once the geometry is imported, the next step is to extrude it vertically. Sketchup does not extrude lines, therefore a plugin is needed. There are many out there, but the TIG Extrude Edges by Vector seems to work really well. This plugin allows you to select many edges that are not connected and extrude them in any direction.
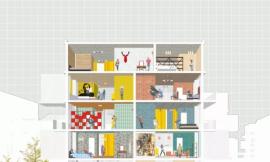
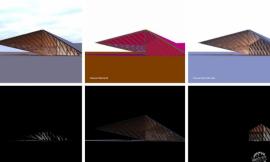
使用插件后,得到的结果是一系列像纸条的平面。
Once the plugin is applied, the result is a series of planes resembling strips of paper.
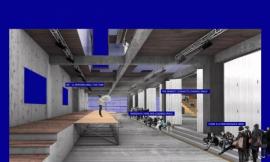
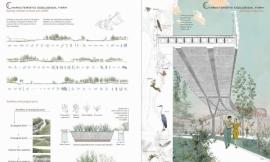
4. The last step is to set the view to “Top” and render the model. I then tweaked the colors in Photoshop and added some light textures to achieve the final look.