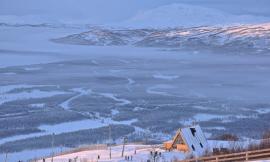
I thought I would pull another move from the Bob Ross play book. He was always great at creating depth in his paintings by saturating and darkening the elements that were closest to the viewer and then lightening the hills and mountains further off in the distance. This move created a clear contrast between the foreground and background objects. Adding this atmospheric haze can be directly translated into architectural illustrations. I’m constantly trying to show tips on this site that have a high return on investment, and adding fog to illustrations is one of those tips. Fog only takes seconds to add but can can completely change the feel of the scene. Often with birds eye views, adding fog can also help transition from the ground to the sky at the horizon and also offers opportunities for blending into other images or backgrounds when working on portfolios and presentation boards.
Over the years, I have seen many different techniques to add fog. Sketchup has the ability to add and export fog. Most rendering programs can render fog as well. I go the really simple route. I just paint it in using Photoshop. It may not be the most accurate technique, but it is fast and very easy to tweak and adjust.
To add fog, I first create a new layer and move it to the top of the layers palette. I then select the “Brush Tool”, choose a white paint color, select a soft brush at the top, and lower the opacity to somewhere around 10%. From there, I simply paint in fog with a higher density in the horizon fading away as it gets closer to the viewer. You can also see this done in one of my older videos HERE.
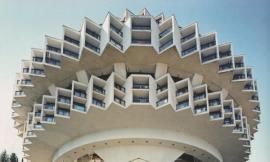
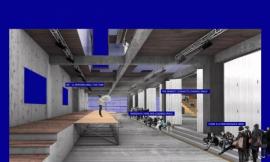
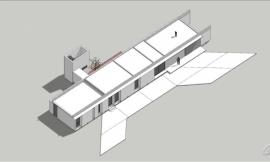
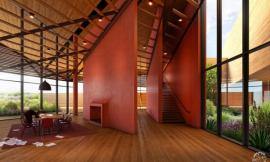
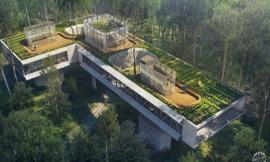
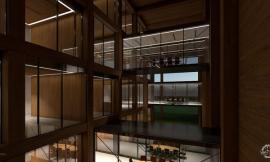
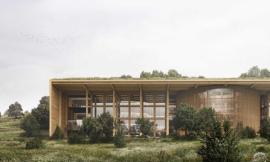
下面这些图来自于我之前的关于渲染的论文中,展示了处理前和处理后的对比。
Below, I have uploaded some before and after shots of my old thesis renderings.